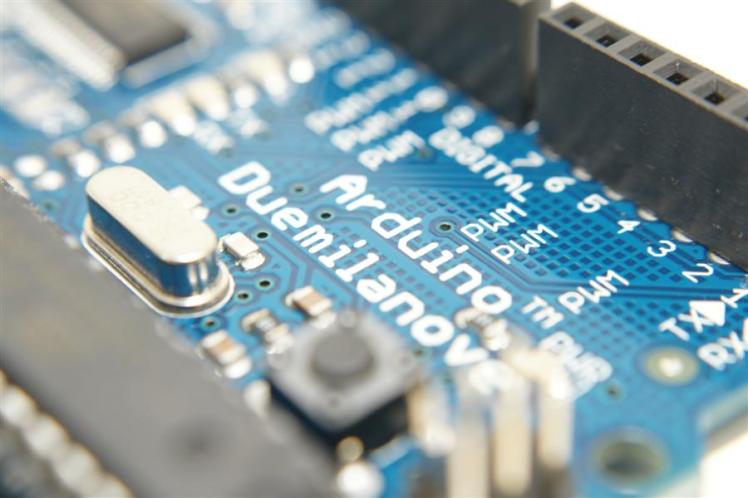
Su Duardino abbiamo già visto come accendere e spegnere un led. Ma non abbiamo mai visto il connubio tra iPhone e Arduino: una combinazione davvero fantastica che, con gli appositi mezzi, è capace di realizzare qualsiasi cosa si voglia.
INGREDIENTI:
- Arduino
- Supporto (breadboard / basetta millefori)
- Cavetti e ponticelli vari
- iPhone
- Rete Wifi a cui devono essere collegati sia il computer che l’Arduino
- Applicazione per iPhone Touch OSC
- Editor Touch OSC per computer (Mac, Pc)
- Processing (IDE)
ESECUZIONE:
CODICE ARDUINO:
//———————-Arduino code————————-
int message = 0; // This will hold one byte of the serial message
int redLEDPin = 11; // What pin is the red LED connected to?
int redLED = 0; // The value/brightness of the LED, can be 0-255
void setup() {
Serial.begin(9600); //set serial to 9600 baud rate
}
void loop(){
if (Serial.available() > 0) { // Check if there is a new message
message = Serial.read(); // Put the serial input into the message
if (message == ‘R’){ // If a capitol R is received…
redLED = 255; // Set redLED to 255 (on)
}
if (message == ‘r’){ // If a lowercase r is received…
redLED = 0; // Set redLED to 0 (off)
}
}
analogWrite(redLEDPin, redLED); // Write an analog value between 0-255
}
//—————————-end Arduino code——————————–
Carichiamo questo codice sulla scheda arduino incollando sull’apposito software.
CODICE PROCESSING:
//—————–Processing code—————–
import oscP5.*; // Load OSC P5 library
import netP5.*; // Load net P5 library
import processing.serial.*; // Load serial library
Serial arduinoPort; // Set arduinoPort as serial connection
OscP5 oscP5; // Set oscP5 as OSC connection
int redLED = 0; // redLED lets us know if the LED is on or off
int [] led = new int [2]; // Array allows us to add more toggle buttons in TouchOSC
void setup() {
size(100,100); // Processing screen size
noStroke(); // We don’t want an outline or Stroke on our graphics
oscP5 = new OscP5(this,8000); // Start oscP5, listening for incoming messages at port 8000
arduinoPort = new Serial(this, Serial.list()[0], 9600); // Set arduino to 9600 baud
}
void oscEvent(OscMessage theOscMessage) { // This runs whenever there is a new OSC message
String addr = theOscMessage.addrPattern(); // Creates a string out of the OSC message
if(addr.indexOf(“/1/toggle”) !=-1){ // Filters out any toggle buttons
int i = int((addr.charAt(9) )) – 0x30; // returns the ASCII number so convert into a real number by subtracting 0x30
led[i] = int(theOscMessage.get(0).floatValue()); // Puts button value into led[i]
// Button values can be read by using led[0], led[1], led[2], etc.
}
}
void draw() {
background(50); // Sets the background to a dark grey, can be 0-255
if(led[1] == 0){ // If led button 1 if off do….
arduinoPort.write(“r”); // Sends the character “r” to Arduino
redLED = 0; // Sets redLED color to 0, can be 0-255
}
if(led[1] == 1){ // If led button 1 is ON do…
arduinoPort.write(“R”); // Send the character “R” to Arduino
redLED = 255; // Sets redLED color to 255, can be 0-255
}
fill(redLED,0,0); // Fill rectangle with redLED amount
ellipse(50, 50, 50, 50); // Created an ellipse at 50 pixels from the left…
// 50 pixels from the top and a width of 50 and height of 50 pixels
}
//———————————-end processing code————————————
Incolliamo invece questo codice su Processing e clicchiamo run in alto a sinistra.
TOUCH OSC:
Apriamo Touch osc editor e facciamo click secondario sulla schermata bianca, la quale rappresenta la vista che comparirà nella nostra applicazione:
 E inseriamo un toggle button scegliendolo dal menù a tendina.
ATTENZIONE: Non fate altro correndo il rischio di modificare parametri che dovrebbero rimanere inalterati!
Successivamente clicchiamo su sync.
Ora possiamo passare all’applicazione di iPhone. Rechiamoci nella impostazioni e confermiamo un network con le seguenti impostazioni:
In IP addres inseriamo l’ip del nostro computer
In “Port (outgoing)” settiamo 8000
In “Port(incoming)” settiamo 900o
A questo punto andiamo in Layout e poi in Add selezionando e downloadando lo sketch che ci viene proposto.
Poi possiamo cliccare done e il gioco sarà fatto!.


Bel progetto.
Hai mai pensato di farne uno simile, ma senza utilizzare Touch OSC ma un programma dedicato?
Si, ho provato.
Il problema è che dovrei implementare una libreria osc per iphone, che non trovo online,
ciao volevo sapere come contattarti per dei chiarimenti… grazie…
sono intenzionato ad usare osc per controllare delle luci led triplo chip dimmerabili rgb come faccio??? ho 4 strisce e vorrei che in automatico partano da sole e facciano un ciclo di circa 8 ore… simulando il sole il tutto sarà collegato ad arduino… poi però se volessi usarle in manuale ci deve essere per forza un controllo per modificarle “live”
intanto grazie
Puoi contattarmi all’email newxcode@gmail.com
Ciao, ho provato a seguire la tua guida, ho trovato però un intoppo con processing, cliccando su run, in basso mi usciva una schermata, dove praticamente diceva che non trovara le librerie,
oscP5 e netP5, potresti gentilmente dirmi quel è il sistema giusto per inserire le librerie che vuole?
Ti spiego perchè….. ho trovato le librerie su siti inglesi, e seguendo le istruzioni, ora cliccando su run il programma parte e si apre un icona sul mio computer con il pulsante, che si illumina ogni qual volta spingo il mio bel pulsantino sull’iphone, però……. il led su arduino non vuole saperne di accendersi… siccome l’unico inghippo che ho trovato è stato proprio questo discorso delle librerie, penso che il problema sia tutto lì.
Cosa ne dici? Grazie per qualsiasi informazioni tu possa darmi. Saluti Angelo.